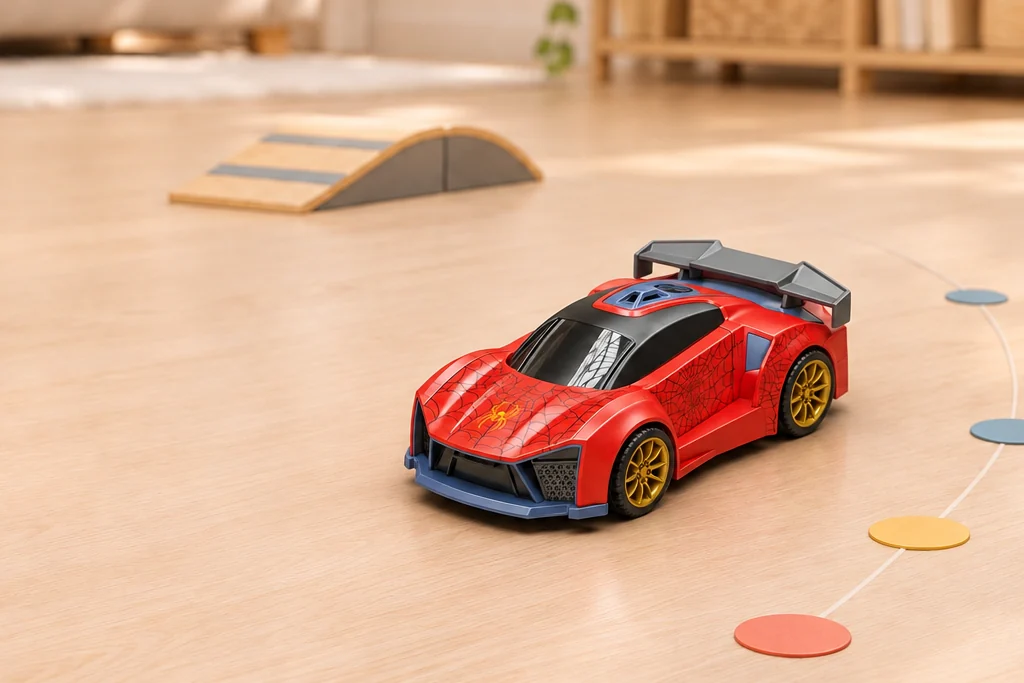
Car & controller play
Set the controls.
Find your route.
Start with the car stored in its controller unit, take out the pieces and make a simple floor route. TCS01 combines a gamepad remote, a detachable infrared blaster and snap-on car storage. The four supplier clips below show Yellow setup and driving, plus the Red car’s flip response.
Real actions
Explore every filmed move
These supplier excerpts show the filmed color and action. Each card identifies its matching SKU. The route activities below are play suggestions, separate from the supplier footage.
TCS01
4 demonstrations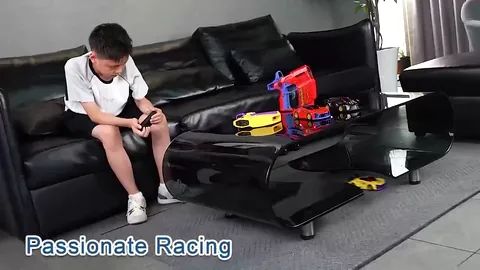
Supplier demonstration · TCS01
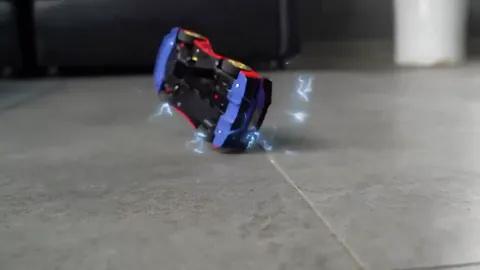
Supplier demonstration · TCS01
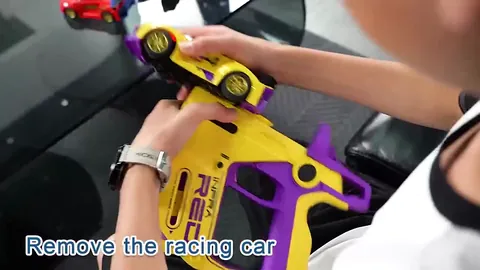
Supplier demonstration · TCS01
Supplier demonstration · TCS01
Silent clips load when you press play. Short repeated excerpts show visible actions; they do not measure speed, range, climbing ability or operating time.
Take the set apart, then start the drive
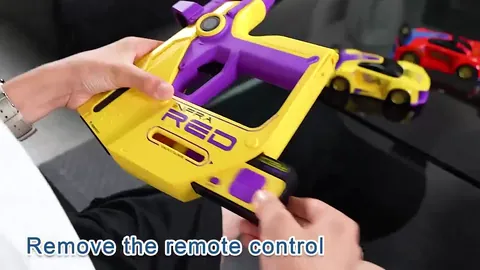
Give the car and controller pieces a clear place on a smooth, level floor. The Yellow footage shows the car coming out of its storage position and a small controller section being detached. These are short edited views, so use the supplied manual for the release points and setup order.
- Lay out the set. Before turning it on, identify the car, gamepad remote and detachable infrared blaster. Keep the separate parts beside the route so you can find them again at the end.
- Remove and connect as instructed. Follow the manual to release the car and controller section. Check how the pieces fit without forcing a latch or using a video cut as an assembly step.
- Try one movement at a time. Start with a short straight drive and a stop. Add a broad turn only after you know which control moves the car.
- Finish with a tidy reset. Switch off and return the pieces to their stated storage positions following the manual. A complete setup-and-pack-away cycle makes a useful first sample check.
For a shop demonstration, place the separated pieces next to the assembled set and name each part. The storage and detachment footage is for the Yellow configuration; ask to verify the same operation on the color you intend to order.
Build a start, a wide turn and a home box
Use removable floor markers outside the wheel path. Make one generous start box, a broad turn and a home box. The Yellow driving clip is a starting point for an indoor route idea, rather than a measured course.
- Leave the start box. Line up the car with the open lane, drive a short distance and stop before the turn.
- Round the marker. Put a marker well outside the car’s path and steer around it. Move the marker away if the turn feels tight.
- Come home neatly. Aim to stop inside the home box. Take turns choosing whether the next route turns left or right; judge the path and stopping point rather than speed.
Keep this route on suitable smooth, level ground. The footage does not establish jump, stair-climbing or water-driving capability.
Read the Red flip clip in context
The Red demonstration shows the car flipping over. The current product listing describes an infrared-hit flip response, while this short excerpt only shows the visible movement. It does not establish a repeat count, trigger distance or recovery sequence.
For a sample review, ask the supplier to show the setup, trigger and reset in one continuous demonstration using the selected SKU and its manual. Keep that check separate from the floor-route game so the driving activity stays easy to explain.
Compare the three color SKUs
Red, Yellow and Black are the three listed TCS01 options. Each currently lists a 4-channel 2.4GHz remote, a 3.7V 500mAh rechargeable battery, LED lights, sound effects and the same car / controller set functions. The choice is a color selection; there is no separate gesture-watch or mist option in these three SKUs.
Swipe or scroll to compare all columns.
| Color | Exact configuration | What the clips show |
|---|---|---|
| Red | TCS01-RD | The car’s flip response |
| Yellow | TCS01-YL | Driving, taking the car out of storage and detaching the controller |
| Black | TCS01-BK | No Black-specific clip is assigned in the current library; request a sample demonstration |
Shared listed functions are product information. The Red and Yellow clips keep their filmed-color labels and are not presented as footage of the Black set.
Make the sample match the retail box
The current packing list names one RC vehicle, remote controller, rechargeable battery, USB charging cable, screwdriver, instruction manual and infrared blaster, and lists an eight-language manual. Ask which manual languages and final packing apply to your market and selected color.
- Check the set. Match the color and full SKU to the car, controller pieces and retail box. Verify the storage fit and release points on the actual sample.
- Check the instructions. Confirm the charging method, controller power requirements, operating instructions and the infrared response procedure with the supplier.
- Check your listing material. Request photos of the exact color and current box contents. Keep the filmed color visible in any demonstration you use.
Before you choose the set
Do all three colors have their own demonstration clips?
No. The current library has three Yellow clips and one Red flip clip. Black remains a listed product option, but it has no separately assigned Black demonstration.
Is the small controller shown as a separate product to buy?
The current TCS01 listing describes a gamepad remote and detachable infrared blaster as part of the set. The detachment clip shows a part being removed; ask for the complete packing list rather than assuming that each piece is a separate order item.
Can this route idea be used as a full operating guide?
The route is a play suggestion. Use the supplied manual for assembly, charging, storage and operation, and ask to confirm the instructions for the exact set you order.
Sources: supplier product footage and TCS01 model and configuration information. Reviewed . Configuration comparisons use the current model listing; the clips are not performance measurements. Play ideas are suggestions; follow the supplied manual.